
If you love onigiri and you love bulgogi, why not combine them into one insanely delicious bite? These Beef Bulgogi Onigiri take everything you love about Korean BBQ beef and pack it into a convenient, handheld rice ball. It’s a favorite in our household and loved by adults and kids alike. Whether you’re meal-prepping for the week, packing a lunchbox, or just craving something savory and satisfying, this recipe is a must-try.
What is Onigiri?

Onigiri, also known as Japanese rice balls, are a staple in Japanese cuisine and life. They’re typically made by shaping seasoned rice into triangles or balls and wrapping them in seaweed. They can be filled with all sorts of delicious ingredients, from tuna mayo, spicy salmon, to pickled plums.
A Korean twist on a Japanese Classic

In this recipe, we’re incorporating Korean flavors into onigiri by stuffing them with quick and flavorful beef bulgogi. It’s the perfect fusion of two beloved Asian flavors!
Ingredients You’ll Need
For the Onigiri:

- Seaweed onigiri wrappers (optional) OR a sheet of roasted nori cut into 2-inch strips – You can find pre-cut onigiri wrappers at Asian supermarkets or just use a strip of nori to wrap the bottom.
- Avocado oil – Used for cooking the beef; any neutral oil works.
For the Rice:

- Cooked rice – Short-grain or sushi rice works best for that perfect sticky texture.
- Salt – Just enough to enhance the flavor of the rice.
- Toasted sesame oil – Adds a nutty aroma and depth to the rice.
- Furikake seasoning – A Japanese rice seasoning mix that gives the rice extra umami and texture. Furikake typically consists of a blend of chopped nori, dried fish flakes, sesame seeds, and salt. If you’re sensitive to fishy flavors, look for nori komi furikake that doesn’t include dried fish flakes.
For the Quick Beef Bulgogi:

- Thinly sliced beef – Use ribeye, sirloin, or pre-sliced bulgogi beef from the Asian market. You can also use the thinly sliced beef loin sold at Costco, which is a bit on the thicker side.
- Soy sauce – Provides the salty, umami base of the marinade.
- Rice vinegar – Adds a subtle tang that balances the sweetness.
- Brown sugar – A hint of sweetness to caramelize the beef beautifully and balance the saltiness of the soy sauce.
- Minced garlic – No Asian recipe is complete without garlic.
- Toasted sesame oil – Enhances the marinade with deep nutty notes.
- Toasted sesame seeds – Adds texture and an extra pop of sesame flavor.
How to Make Beef Bulgogi Onigiri
This incredibly simple recipe takes less than 20 minutes from start to finish!

Step 1: Prepare the Quick Bulgogi Beef
- In a medium bowl, combine the thinly sliced beef, soy sauce, rice vinegar, brown sugar, garlic, and toasted sesame oil.
- Mix well to evenly coat the beef and let it marinate for at least 20 minutes.
- Heat a pan over medium heat with a small amount of oil and cook the marinated beef until browned and fully cooked. Set aside to cool slightly.


Step 2: Season the Rice
- While the beef is marinating, season the cooked rice with salt, toasted sesame oil, and furikake seasoning.
- Mix well and set aside.

Step 3: Assemble the Onigiri
If using an onigiri mold:
- Add 1/4 cup of seasoned rice into the bottom of the mold.
- Place about 2 tablespoons of the cooked bulgogi filling in the center.
- Add another 1/4 cup of rice on top.
- Press down firmly with the lid, then flip and gently push the center of the mold to release the onigiri.


If shaping by hand (No mold? No problem!)
- Wet your hands and fingertips with water to prevent sticking.
- Scoop about 1/4 cup of rice into your palm and flatten it slightly.
- Place 2 tablespoons of bulgogi beef in the center.
- Add another 1/4 cup of rice on top, then gently lift the edges of the bottom rice layer to form a ball.
- Shape the ball into a triangle using your hands or by pressing it into the corner of a rectangular container.

How to Wrap Onigiri
- If using onigiri wrappers (found at Asian grocery stores or on my Amazon storefront), simply wrap them around the rice triangle.


- If using regular roasted nori, cut a strip and place it at the bottom of the onigiri to create a grip-friendly wrap.

Perfect for School Lunches or Bento Box
What makes onigiri so great (aside from how delicious it is) is it’s portability. It’s the perfect on-the-go snack that you can enjoy anywhere. Pack it for school lunch or a bento box, take it to the beach or a picnic–it’s great for all occasions and locations!

I recently filmed a video showing exactly how I pack this pasta in my kids’ lunch boxes. Check it out here.
Pro Tips for the Best Beef Bulgogi Onigiri

- Use freshly cooked, short-grain rice – It sticks together better, making it easier to shape.
- Keep your hands wet – This prevents the rice from sticking to your fingers.
- Marinate the beef longer – If you have time, let it sit for 1 hour for deeper flavor.
Frequently Asked Questions

Can I make onigiri ahead of time? While onigiri is best enjoyed fresh, you can store them in an airtight container in the fridge. You can remove the packaging and reheat for a few seconds in the microwave so the rice can soften.
What’s the best rice for onigiri? Short-grain or sushi rice is ideal because it’s sticky enough to hold its shape.
Where can I buy an onigiri mold or seaweed wrappers? Both the mold and wrappers can be found at Asian supermarkets or on my Amazon storefront.
Can I use another type of meat? Absolutely! Try using ground beef, shredded chicken, tuna, salmon, or even tofu for a vegetarian version.
Craving more easy rice recipes?
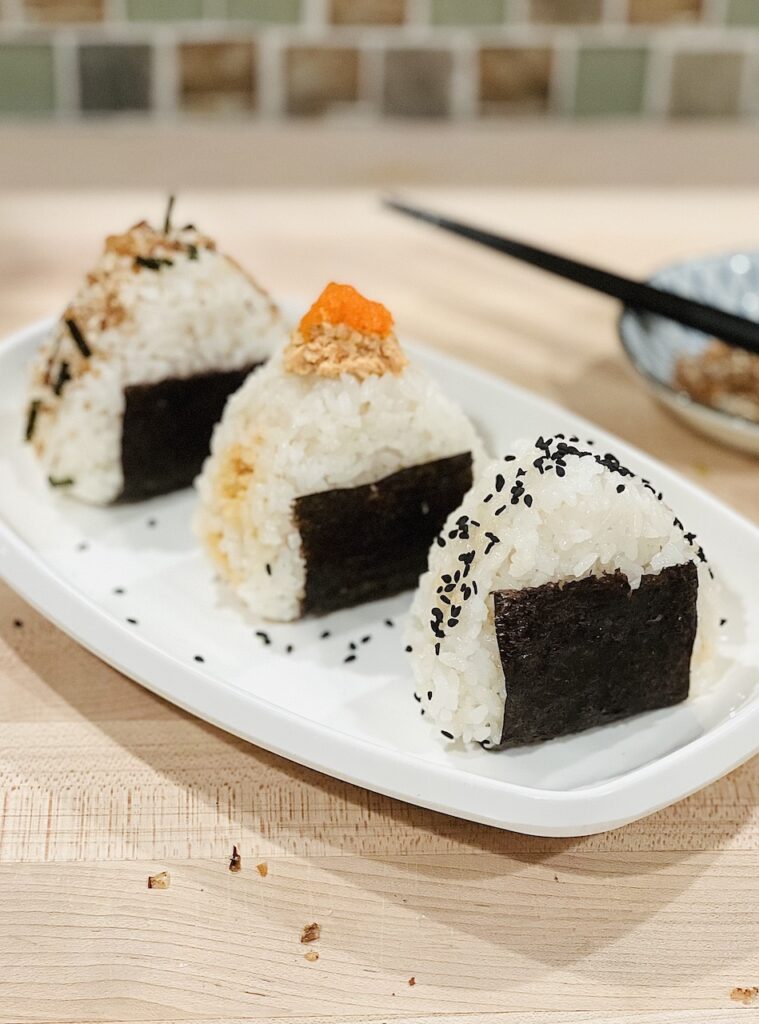
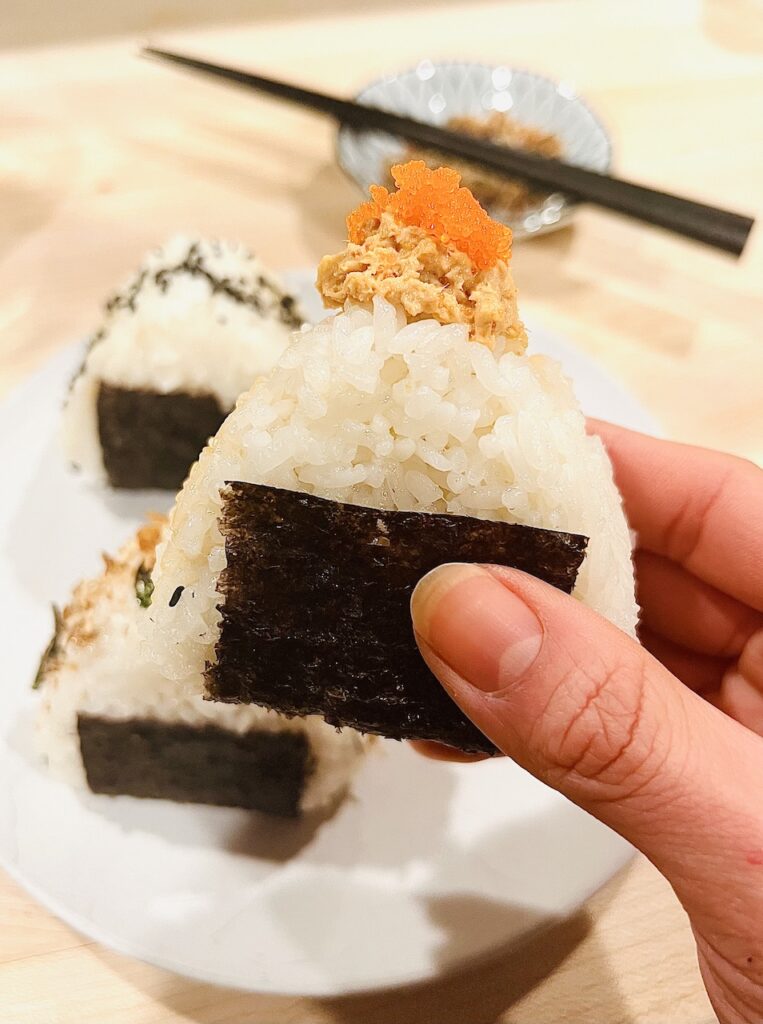
Beef Bulgogi Onigiri (Japanese Rice Balls)
These easy Beef Bulgogi Onigiri combine the bold flavors of Korean BBQ beef with the convenience of Japanese rice balls. Perfect for meal prep, lunchboxes, or a savory snack!
- Author: Olivia Yi
- Prep Time: 30
- Cook Time: 10
- Total Time: 40 minutes
- Yield: 8 servings 1x
- Category: Appetizer, Side Dish, Snack
- Cuisine: Asian, Japanese
Ingredients
FOR THE ONIGIRI
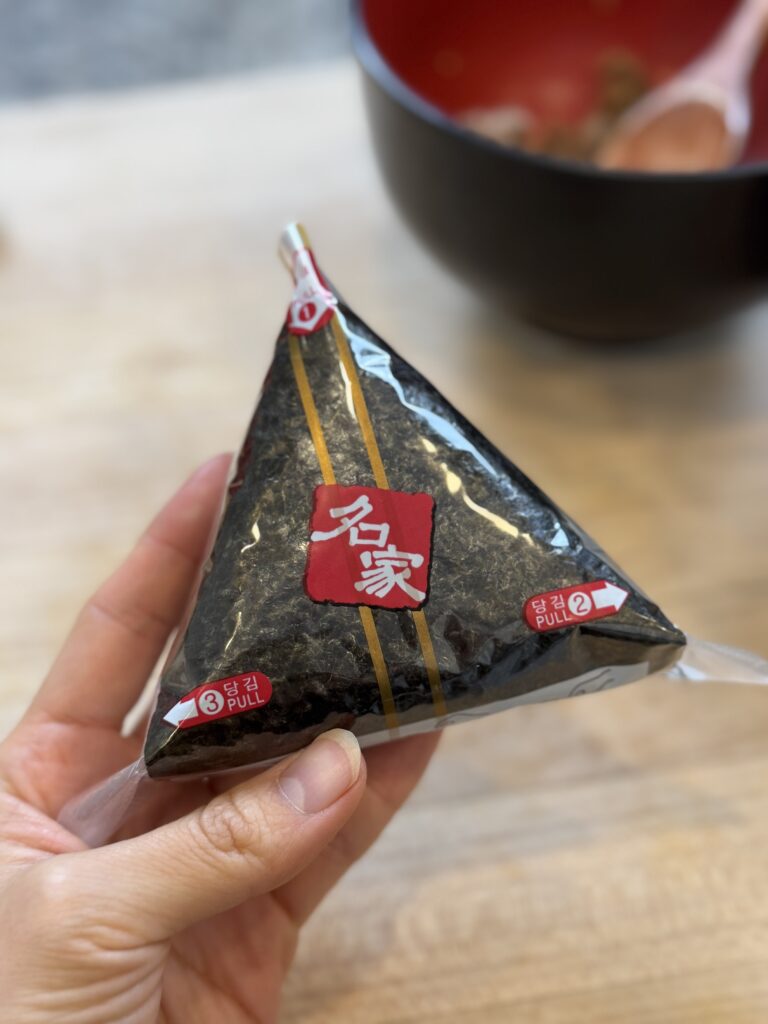
8 sheets seaweed onigiri wrappers* (optional) OR 1 sheet of roasted nori cut into 2 inch strips
2 tsp avocado oil (you can use any neutral oil)
FOR THE RICE
4 cups cooked rice
1/2 tsp salt
1 tbsp toasted sesame oil
1/4 cup furikake seasoning
FOR THE QUICK BEEF BULGOGI
1 lb thinly sliced beef
2 tbsp soy sauce
1 tbsp rice vinegar
1 tbsp brown sugar
2 tsp minced garlic
1/2 tbsp toasted sesame oil
2 tsp toasted sesame seeds
Instructions
PREPARE THE QUICK BULGOGI BEEF
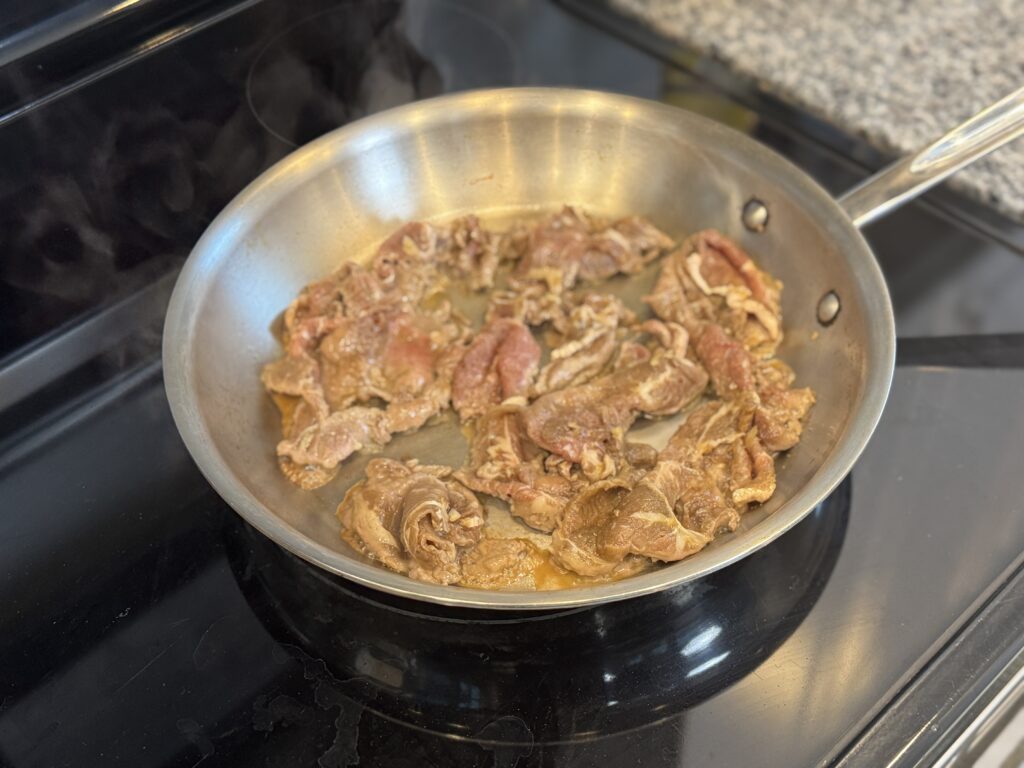
1. In a medium bowl, combine the ingredients for the quick bulgogi beef (thinly sliced beef, soy sauce, rice vinegar, brown sugar, garlic, and toasted sesame oil). Mix to ensure the beef slices are evenly coated with the quick bulgogi marinade. Let marinade for at least 20 minutes.
2. Add the marinaded beef to a medium pan with a small amount of oil and cook under medium heat until the beef is fully cooked and browned on both sides.
PREPARE THE RICE
2. Season the cooked rice with salt, toasted sesame oil, and furikake seasoning. Mix and set aside.
ASSEMBLE THE ONIGIRI
If using an onigiri mold:
3. Add 1/4 cup rice into the bottom of the mold. Add 2 tbsp of the cooked bulgogi filling in the center of the rice then top with another layer of rice (1/4 cup). Press down with the lid then flip and gently push the center of the mold to release the onigiri.
If using your hands:
3. Wet the palms of your hands and fingertips with water to prevent the rice from sticking. Scoop about 1/4 cup of rice onto the palm of your hand and gently flatten it out. Add 2 tbsp of the beef bulgogi filling to the center and add another 1/4 cup of rice over it, then lift up the edges of the bottom rice layer to form a large ball. Once a ball is formed, use your hands to shape the ball into a triangular shape. You can press the ball into the corner of a rectangular Tupperware container to achieve the triangle shape.
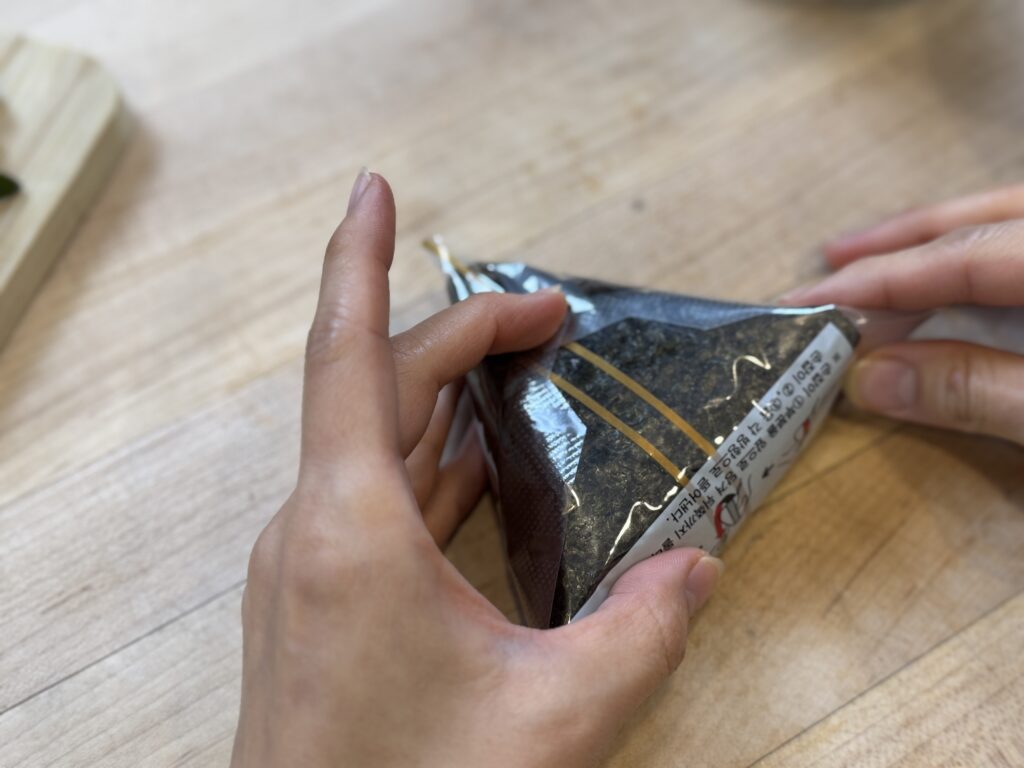
WRAP THE ONIGIRI
4. Once your onigiri is formed, wrap with seaweed onigiri wrapper. Alternatively, you can wrap the bottom center with a strip of nori.