


HOW TO FREEZE GARLIC (The Best Garlic Storage Hack)
This is a genius way to freeze garlic so it’s always ready when you need it. This easy prep method is perfect for saving time in the kitchen and avoiding waste.
Equipment
- Food processor
- Plastic storage bags
- Knife or kitchen shears
- - Cutting board
- Bench scraper (or use the dull side of your knife)
- Sharpie (for labeling)
Ingredients
- Peeled whole garlic cloves
Instructions
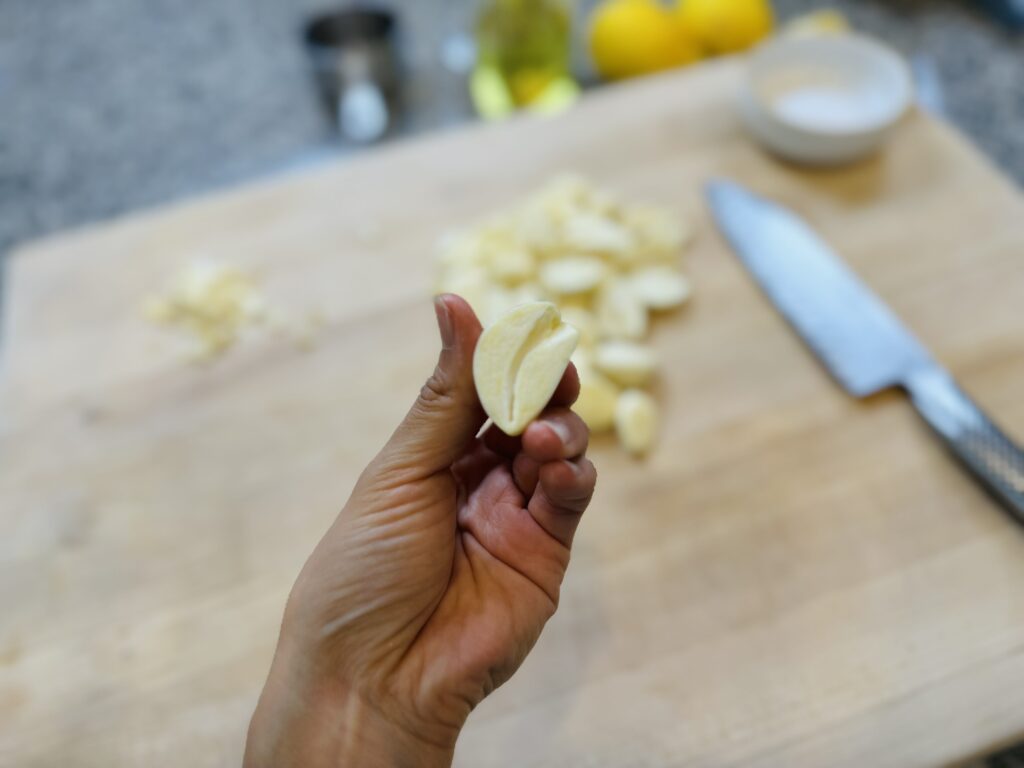
- Remove the stems of your garlic clove using a knife or kitchen shears
- Add garlic cloves to the food processor and blend until finely minced
- Scoop the minced garlic into plastic storage bags and seal while trying to push out as much air as possible. Use your fingers to distribute the garlic into a thin even layer.
- Use a bench scraper or the dull side of your knife to create indentations.
- Freeze and break off a square of minced garlic to be added to your dishes as needed.
Tried this recipe?Let us know how it was!