Fresh ginger is magical—it adds warmth, zing, and depth to everything from soups and marinades to tea and stir-fries. Keeping it fresh, however, can be a challenge, especially when it gets forgotten in the crisper and turns into a shriveled root.
I’ve found the key to preserving that sharp, clean flavor and texture is freezing it. By putting in a little bit of time to properly freeze and store it, you can cut down on cook time, reduce food waste, and enjoy all the benefits of ginger for months.
Let’s walk through two simple ways to freeze ginger: minced and sliced into coins—plus tips on storing it safely.
What You’ll Need
Food processor
Knife
Cutting board
Plastic freezer bags
Parchment paper (for coins)
Bench scraper (or dull knife)
Sharpie (for labeling)
Ingredients
Fresh ginger root
Use firm, smooth ginger with no mold or wrinkling.
Step-by-Step Instructions
Step 1: Wash + Dry
Rinse the ginger thoroughly and pat it dry with a towel. I like to let it air-dry on a clean towel for a few hours to avoid excess moisture (which can cause freezer burn).
Option 1: Ginger Coins (For Stews, Broths, and Teas)
1. Slice the ginger
Chop the ginger into 2–3 inch segments, then thinly slice it into coins (no need to peel if you washed it well).
2. Freeze flat
Lay the ginger slices in a single layer on a baking sheet or large plate lined with parchment paper. Freeze for at least 2 hours. This is to prevent the ginger coins from sticking together.
3. Store
Once frozen, transfer the coins to a labeled freezer-safe bag. Store flat and pull out coins as needed.
Option 2: Minced Ginger (For Stir-Fries, Marinades, and Sauces)
1. Peel the ginger
Use a spoon or veggie peeler to scrape off the skin. If using organic ginger, you can opt to keep the skin on. However, when using non-organic produce, I try to remove the skin whenever possible. Roughly chop the peeled ginger into 2 inch pieces to make things a little easier on your food processor.
2. Process
Toss the chopped ginger into a food processor and pulse until it’s as fine as you like.
3. Freeze in flat layer
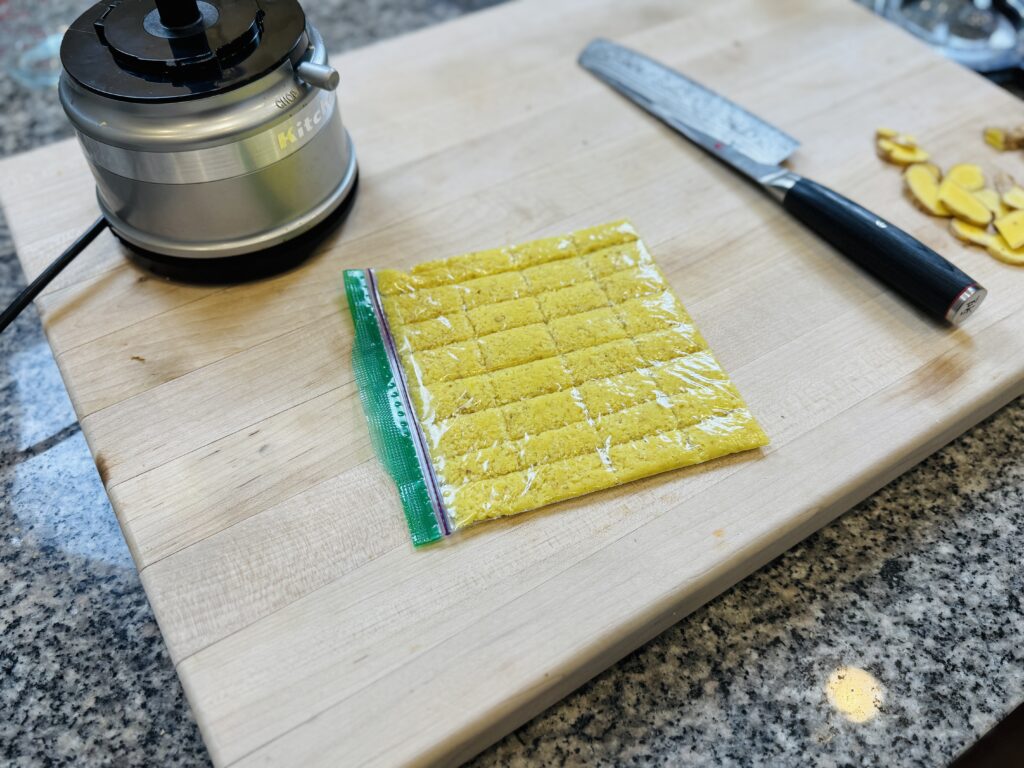
Scoop the minced ginger into a plastic storage bag and flatten it into an even layer. Use your fingers or a bench scraper to press indentations into the layer.
4. Freeze + label
Seal tightly, label with the date, and freeze flat. Just break off a square or more whenever you need it.
Storage Tips + Food Safety
Freezer temp: Store at 0°F or lower to maintain quality and food safety.
Shelf life: Best within 3–4 months, though safe beyond that if kept frozen.
Odor tip: Ginger doesn’t have as aggressive a smell as garlic, but if you’re sensitive, double-bag or use silicone freezer bags.
Customizations + Alternatives
Prefer chunkier ginger? Just pulse less in the food processor. Remember the finer the dice, the more potent the flavor of the ginger. You can also reserve some of the garlic to chop into matchsticks to be used for dipping sauce or other dishes.
No food processor? Mince by hand and freeze in teaspoons using an ice cube tray.
Want to make ginger paste? Add a bit of neutral oil (like avocado or grapeseed) and blend until smooth. Freeze in small batches using ice cube trays.
Why Freeze Ginger?
Besides preventing food waste, frozen ginger:
Is way easier to grate or break apart than fresh ginger which can be stringy when grated.
Keeps your recipes tasting sharp and flavorful
Helps you batch prep so you’re not peeling and chopping every single night
Reduces food waste and ensures that all the ginger you purchased actually gets used.
And bonus—once you make freezing and storing ginger a regular practice, you’ll never run out of ginger mid-recipe.
How I Use It
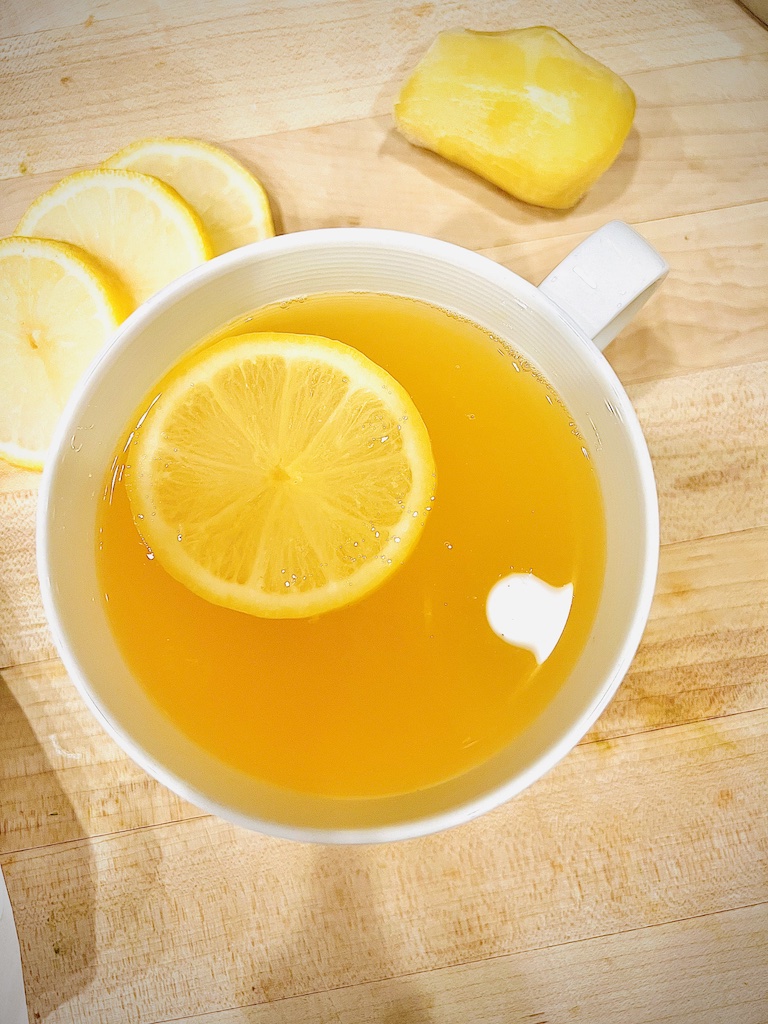
Drop a few ginger coins into a simmering pot of braised pork belly or oxtail soup
Stir minced ginger into a dumpling sauce or bulgogi marinade
Toss a frozen ginger square directly into stir-fries (no need to thaw!)